performMODE
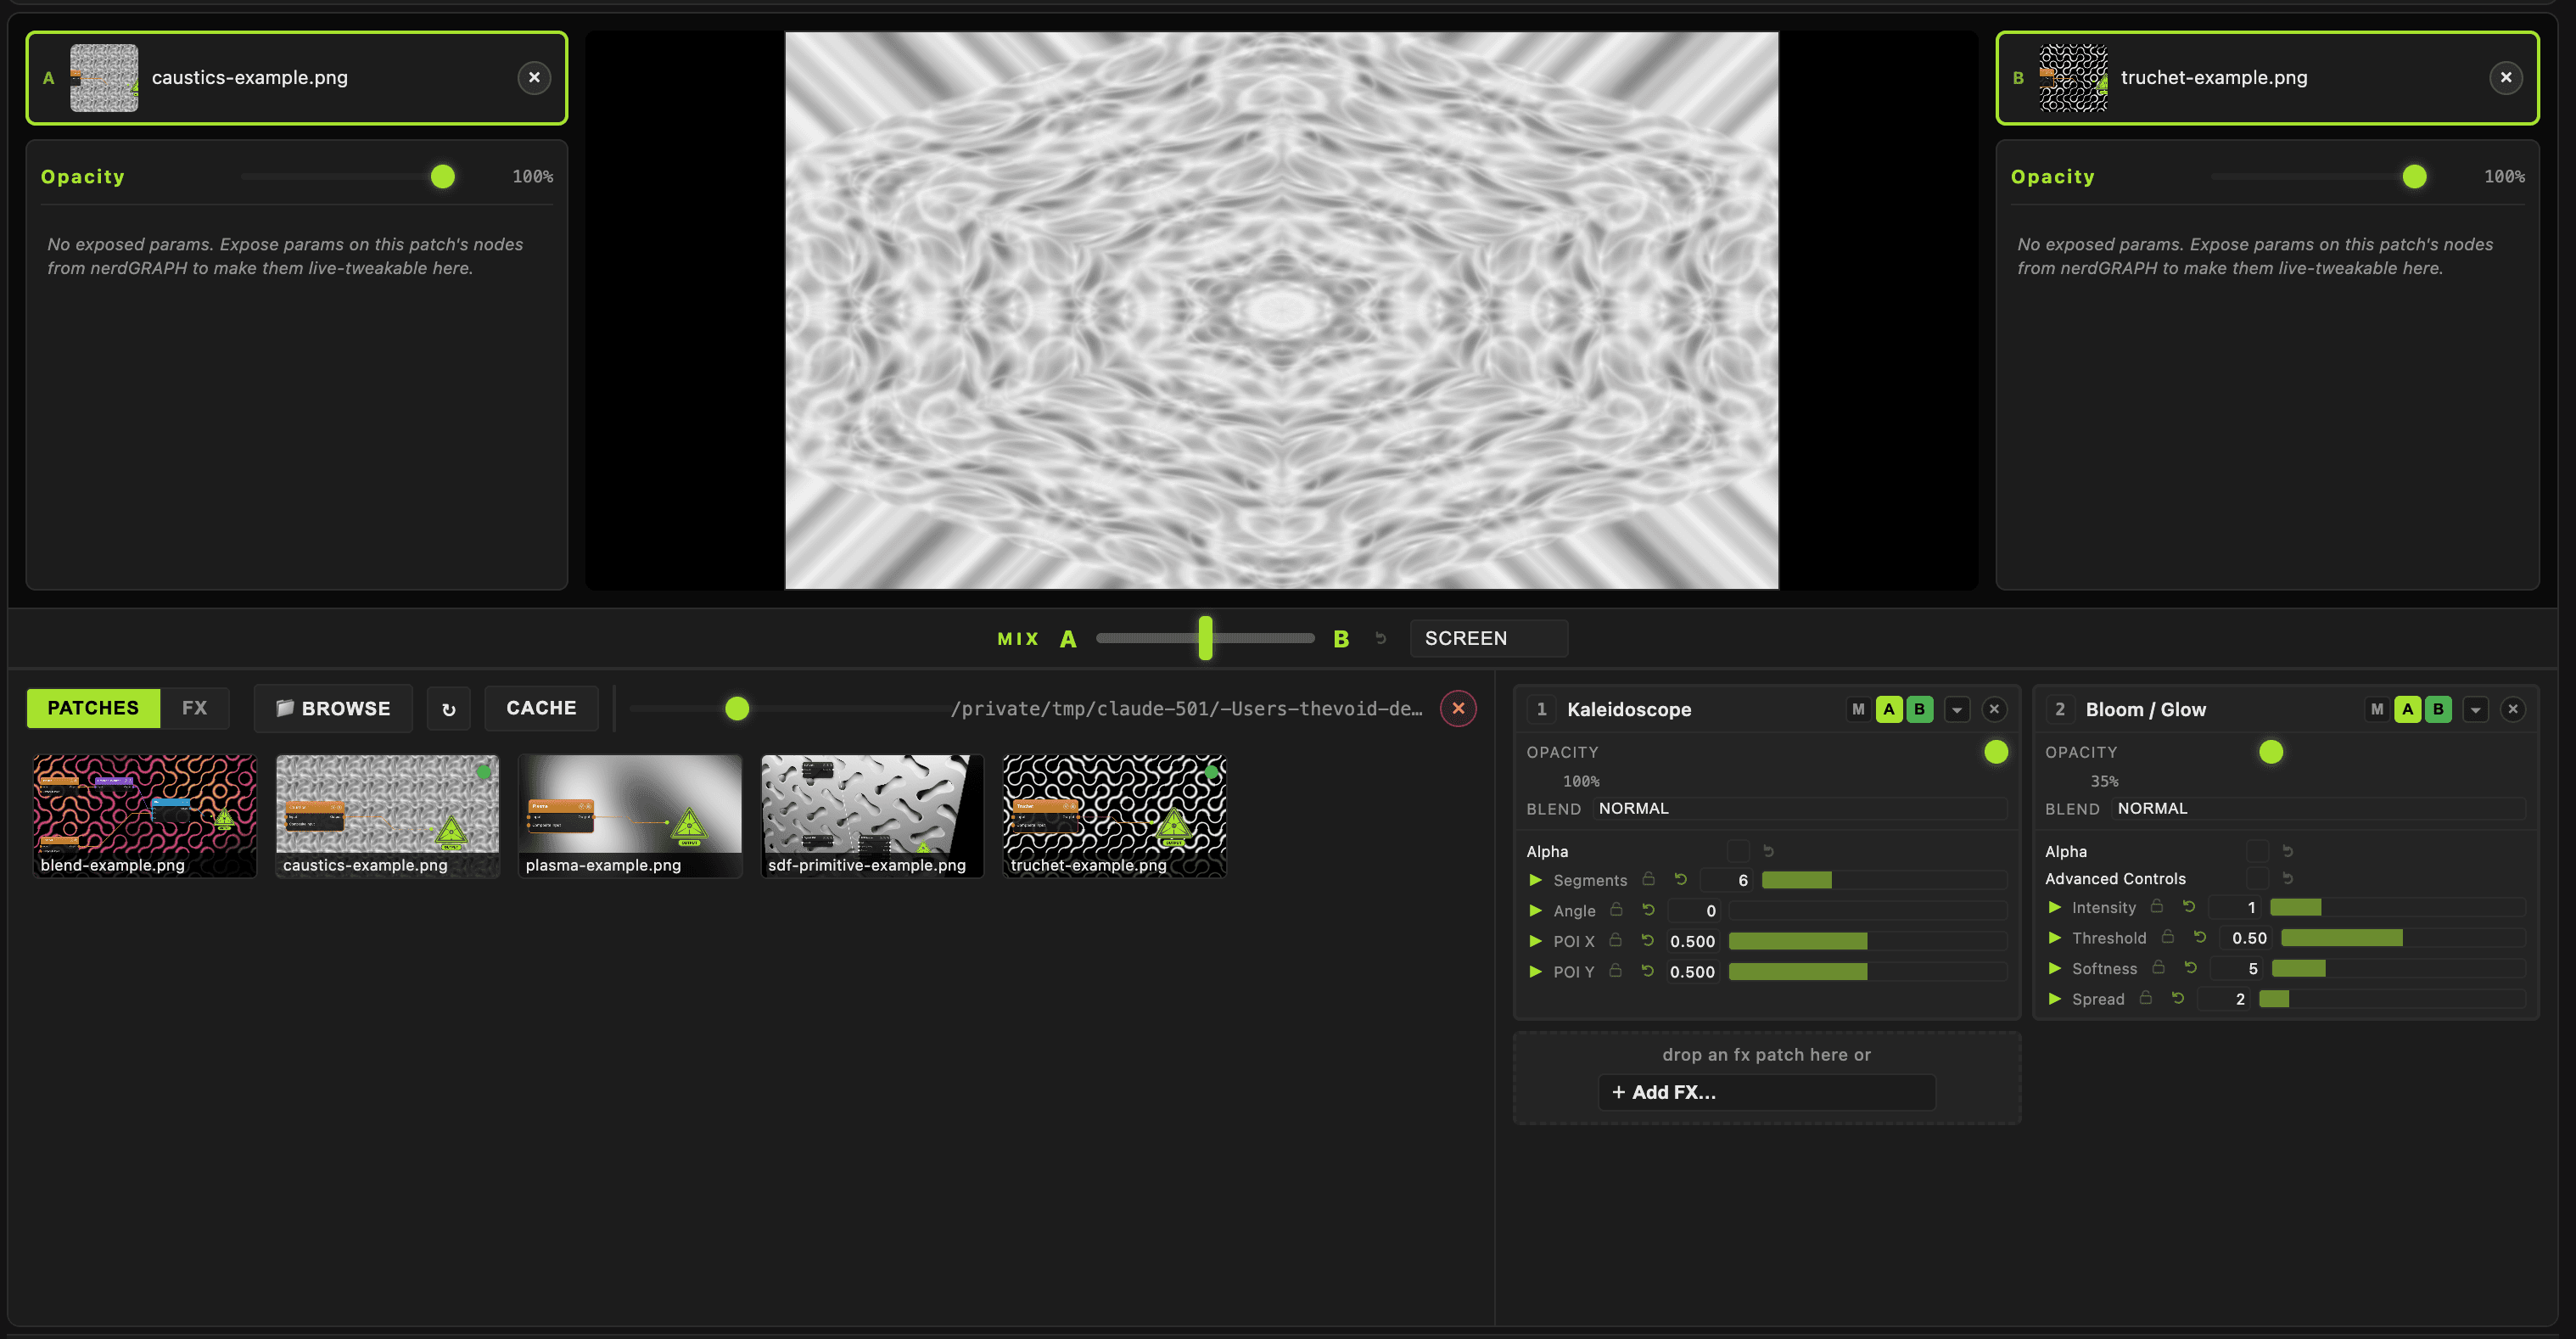
The live-performance view — two patch zones, a crossfader, a per-track FX deck, exposed parameters, and MIDI learn, all on one screen.
performMODE plays finished patches. You load a folder of patches, drop one into zone A and one into zone B, crossfade between them, stack effects on each track, and turn the parameters you exposed in the node graph into faders.
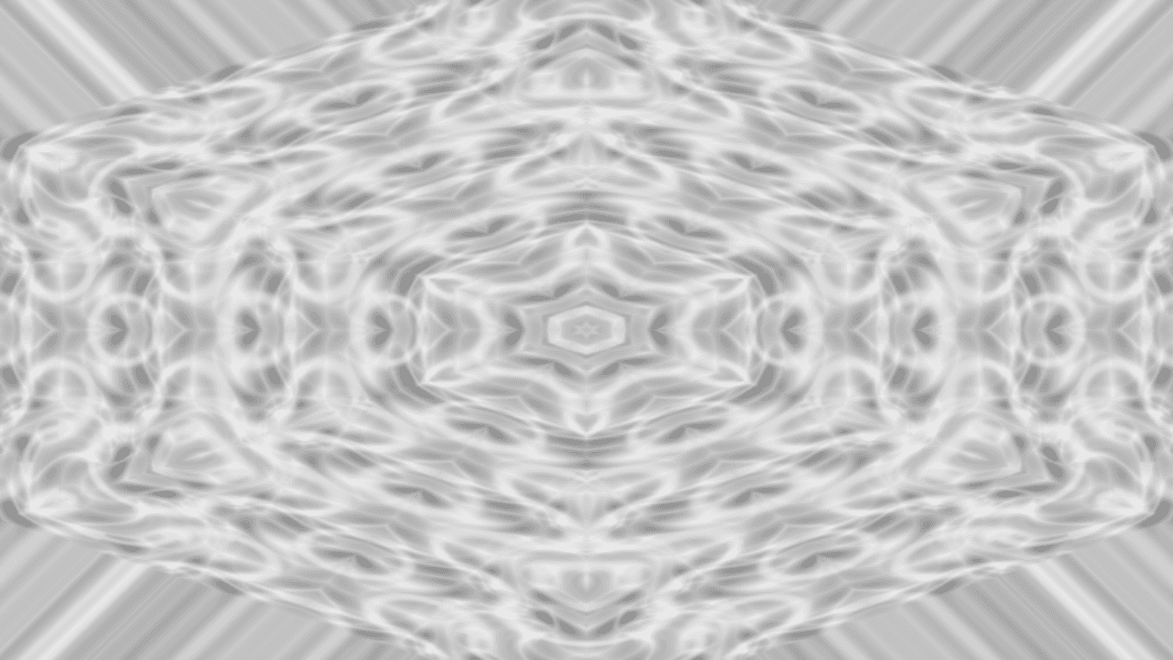
- Enter with the Perform button at the top right or F4; Graph or F1 returns
- Two zones, one MIX crossfader with a blend mode, and per-zone Opacity
- A Patches / FX browser bottom left and an FX deck bottom right
- Everything on screen can be MIDI mapped through Input → Enable MIDI Mapping
Loading patches
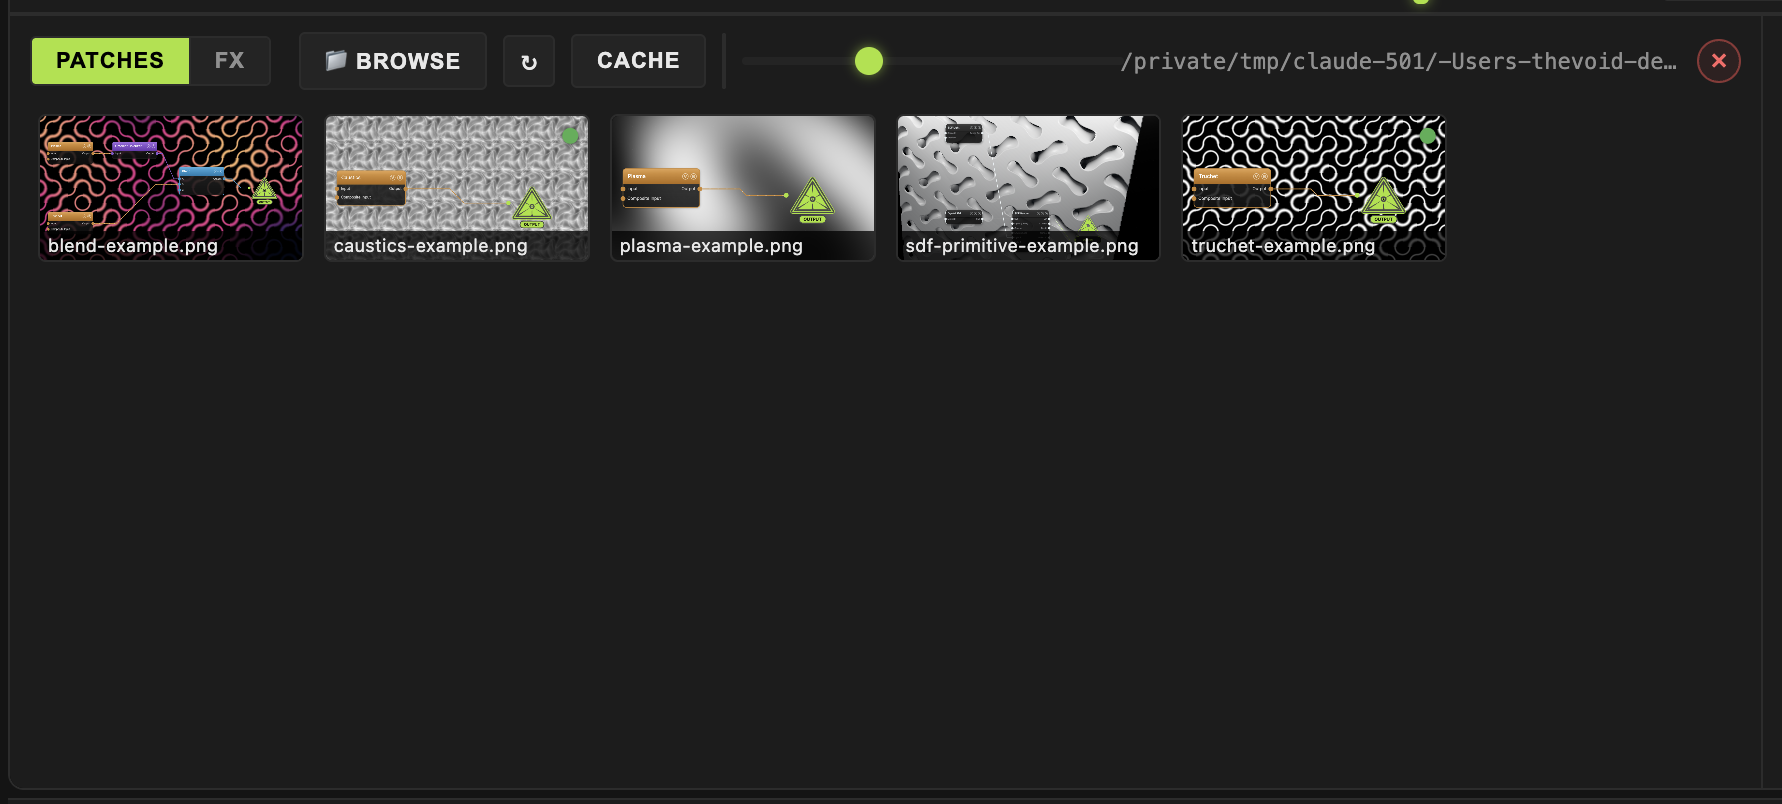
- Click Browse in the bottom-left panel and choose a folder. Every Auragen patch PNG and
.jsonpatch in it appears as a thumbnail. The folder path shows next to the buttons; the × at the end clears it. - Drag a thumbnail onto zone A or zone B. You can also drag a PNG straight from the desktop onto a zone; it is added to the library and loaded.
- ← and → step zone A through the folder in order, wrapping at the ends.
↻ rescans the folder and drops cached copies, which you need after editing a patch in the graph. Cache loads every patch in the folder into memory and compiles its shaders, so the first switch to any of them is instant; the button shows progress as done/total. The thumbnail size slider and the grid/list toggle sit in the same header.
Double-click a thumbnail to open that patch in the node graph. When you return with Perform, the edit is folded back into the loaded copy and the patch is marked changed.
Zones
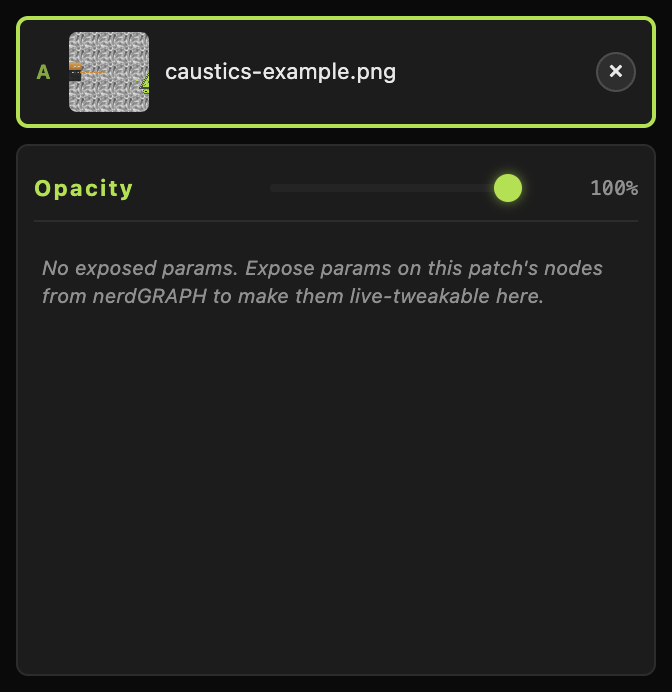
Each zone column shows the loaded patch's thumbnail and filename, a × to clear it, and then its controls:
- Opacity — a fade for that zone alone, applied before the crossfade. It is independent of the MIX position.
- Exposed parameters — every parameter you marked with the E button in the graph, as a slider, checkbox, dropdown, or colour swatch. Right-click a slider to reset it to the value saved in the patch, not the operator default.
- Driven — parameters that are already animated by a wire, a timeline lane, or an audio mapping appear here read-only, with a meter showing their live value.
- DASHBOARD A / B — if the patch has a MIDI Dashboard node, its knobs, pads, and faders draw here instead of in the parameter list.
Both patches run in one graph, so loading is a merge rather than a second engine. Camera moves are mirrored to every camera node of the same type across both zones, and the stateful simulators (reaction diffusion, fluid, sketch) are shared between them.
Drag the handle on the inner edge of a zone column to resize it.
Mixing

The MIX slider under the canvas runs from all A on the left to all B on the right. The reset button beside it returns to 50/50. The dropdown picks the blend mode used to combine the two tracks: normal, add, multiply, screen, overlay, subtract, difference, lighten, or darken. The mix starts at pure A and the mode at normal when you enter.
The mix is the frame. Exports, NDI, and Spout all carry the same composite you see, at a resolution set from the size of the canvas area in this view.
FX deck
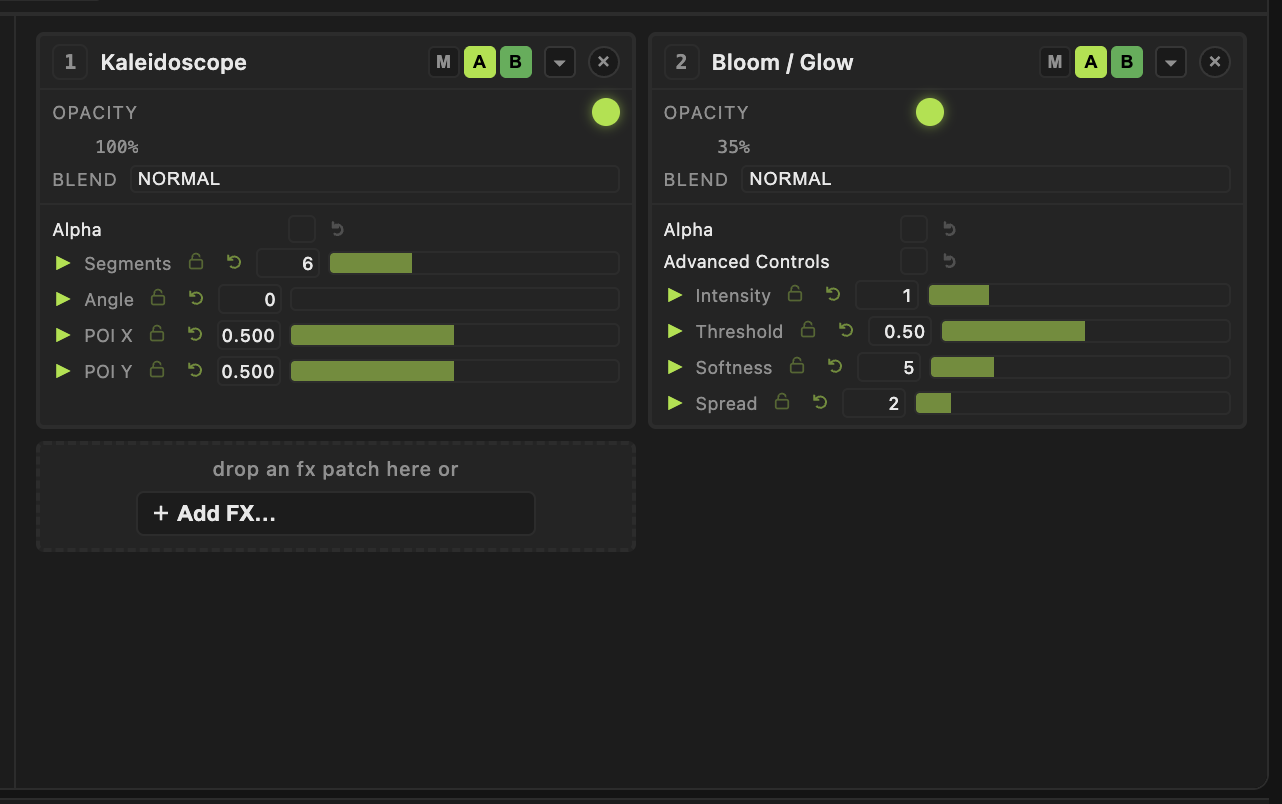
The bottom-right grid holds effect slots. Effects run per track, in slot order, before the crossfade.
- Add FX… — pick any post effect from the dropdown. Its parameters are exposed automatically.
- Drop an FX patch — a patch whose first node is Texture In works as an effect. The FX tab of the browser holds a folder of them, with its own Browse and Cache buttons.
- Each slot has M (mute on both tracks), A and B (enable per track, both on when added), a collapse chevron, and ×.
- Opacity (0 is bypass, 1 is full) and Blend set how the effect is composited over its own input.
- Drag the slot number to reorder. Dropping a patch onto an occupied slot replaces it.
Transport and master controls

The transport bar along the bottom stays the same as in the node graph. Opacity is the master output opacity; it is applied when the frame is presented, so it also fades NDI, Spout, and exports. Speed scales every animation. Both reset from their ↺ buttons or by right-click, and both accept MIDI and audio control.
NDI and Spout have no buttons in this view. They are switched from the Output menu, and a merged patch's own Output node cannot start a sender on its own.
MIDI mapping
Choose Input → Enable MIDI Mapping. A banner reads MIDI Learn active. Click any highlighted control, then send a MIDI message; the control shows a small M badge once mapped. Right-click the badge to unmap it. Every fader, the MIX slider, the blend dropdown, zone opacities, FX opacities and mutes, and the dashboard controls are mappable. MIDI starts automatically when you enter performMODE.
Mappings are stored against the patch's filename. Moving the folder keeps them; renaming a file loses them.
Keys
| Key | Action |
|---|---|
| F4 / F1 | performMODE / node graph |
| ← / → | Previous / next patch in zone A |
| D | Toggle Draw for particleDRAW patches |
| E | Reset every particleDRAW system |
| F | Freeze or release particles |
| M | Mirror the output horizontally |
| [ / ] | Brush size down / up (hold Shift for fine steps) |
| ? | Shortcut sheet |
Mouse drag on the canvas paints into any Sketch, FluidSIM, or Reaction Diffusion node in either zone at once, and flies the 3D camera of a surface or SDF patch: drag to look, Alt + drag to orbit, right or middle drag to dolly and pan, Alt + wheel to dolly.
particleDRAW
When a loaded patch contains a particleDRAW node, a toolbar appears under the canvas with Draw, Gradient, Mirror, and Freeze toggles that act on both zones. Draw starts off, so loading a patch never paints by accident. When you swap that patch out, its particles keep decaying underneath the new patch until they are gone.
Troubleshooting
A 3D or SDF patch shows the grid and gizmo — helpers are off by default here and never reach the output. If they show, turn them off in the 3D toolbar under the canvas.
MIDI stopped working after renaming a patch — mappings follow the filename. Rename it back or map again.
Switching patches stutters — press Cache once after choosing the folder so every shader is compiled ahead of time.